By Kara Crevier
Have you mastered the at-home mani and now you’re ready to dive into nail art? You already have everything you need for a fun floral mani.
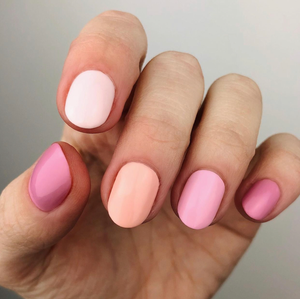
Let’s start with your nail art tools. All you need is polish and a clean up brush.
Begin with the essential mani using the base color of your choice. Shape, prep, and apply two coats of your base color of choice. Allow your polish to dry for at least 5 minutes between in each coat.
Use a contrasting polish color to paint your swirls. Take the brush out of the bottle, wipe most of the polish off of the brush. Turn your brush sideways and use the narrow side of the brush to carefully draw a curvy line on your nail. Then get a little bit more polish on your brush and lightly fill in your line. It doesn’t have to be perfect—the more organic and natural the more unique and personal it is!
Let it dry for 2-4 minutes, then repeat with a second coat to make the swirls pop and look opaque. Let this dry again for 2-4 minutes.
Use the bottom of your clean up brush to make dots for the flowers. Place a dot of polish on a piece of foil and dip the clean up brush in the polish, then dot it on your nail. For a flower, create 5 slightly overlapping dots in a circle.
Tip: I like to dip the clean up brush into the paint between each dot to make them uniform. You can totally practice flowers a few times on a piece of scratch paper first!
Let the dots of your flower petals dry for 1-2 minutes. Then add a dot in the center of the petals in a contrasting color.
I like to wait at least 5-10 minutes before applying a top coat to make sure every single element is dry. This will help to avoid streaking. Top Coat will help make your beautiful art last, and help smooth over any slightly uneven polish.